Showing posts with label Technique. Show all posts

Wednesday, 1 July 2020

Stamping Sisters Tutorial: July Blog Hop

It's time for another Stamping Sisters Tutorial and this month we have decided to get a bit crazy and shake things up a little.

Our cards are just too awesome to make just one so we've each made two using our very own tutorials and have decided to share one of the cards as part of a blog hop. This means you still get an exclusive card and tutorial when you purchase are Stamping Sisters Bundle, but now you always get to see another idea on how to use that tutorial. So really your getting 10 card ideas, how super cool it that!

Our theme for this month is Celebrations/Birthdays and the girls have, as usual, done a fantastic job.
So it doesn't matter whether you have started here with me (Hi, Hello, How are you?) or you hopped your way here from the amazingly talented Di Barnes just follow the hop until your get right back where you started. So grab a cuppa, sit back and let us inspire you!!


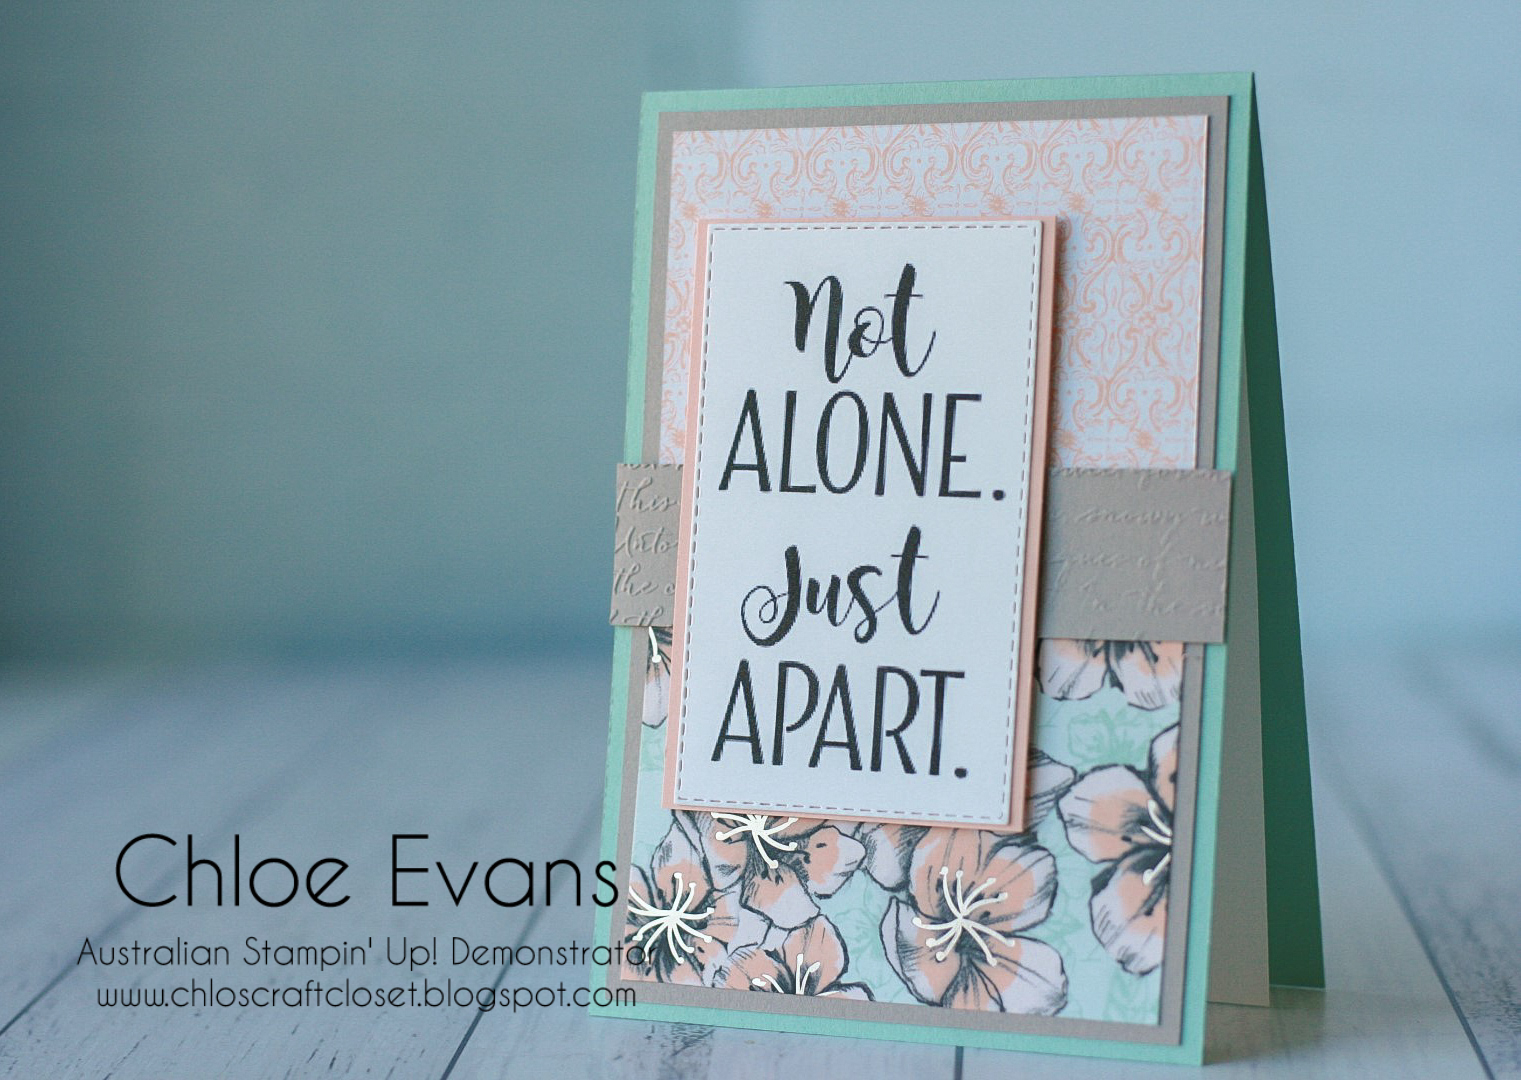
My tutorial this month showcases a fantastic technique called emboss resist and I just love how many different ways and styles this technique can be used.

On my blog hop card, I have played with the new Whale of a Time suite, which is one of my favorites from the new Annual catalogue and as you can see I used the Emboss Resist Technique as a strip on one side.

So I can hear you all saying " Chlo we need to know how to do that awesome technique. How do we get our hands on your amazing tutorial bundle?" Well I'm glad you asked:

Option 1 - It's yours for FREE. Yep that's right. If you place a qualifying order of $60* or more through my online store, that months bundle will be sent to you, absolutely free. It's my way of saying Thank You and I really appreciate your on going support. LET'S GO SHOPPING!

Option 2 - You can also purchase the monthly bundle, simply by clicking on the Buy Now Button. This means our tutorials are also available to crafters from all across the world including our fellow demonstrators too. Cost of each tutorial will $15AUD, that's only $3.00 per tutorial!!. Once payment is made, I will grant you access to the tutorial file.

 Important - How to access purchased tutorials
  • When PayPal confirms your payment, select 'Return to Sellers Website' and you'll be able to see all the document pdfs on Google Drive.
  • You can choose to download all tutorial documents together or separately.
  • You don't need a google login to access or download files.
Option 3 - Join the Closet Crafters!! Yep, I love to spoil my team and so as a little welcome, you will receive that current months tutorial bundle for FREE. Yippee!! JOIN TODAY!!

So now I think it's time for you to hop on over and check our the what lovely Cazz Boylan  has created to share with you all. I can tell you, you are in for a treat!!

Happy Crafting,
Chlo

Blog Hop List:
Chloe Evans - You are HERE!


Product List

Tuesday, 5 May 2020

Double Wonder - Parisian Blossom

I really couldn't help buy have yet another play with the Double Wonder sheet. If you haven't seen my previous post on this fantastic technique (which you can find HERE) you really must take a look.

So last time I used the From my Heart designer series paper and this time I went with the gorgeous Parisian Blossom paper.


I again teamed all this gorgeous paper with the Share the Sunshine digital stamp set that Stampin' Up have recently released.

Because the original design of the Double Wonder was created with American A4 in mind, I have changed up the measurements to suit our A4. I have updated the template tutorial for you, which you can download from HERE.

I really do love how these cards came out and think the Double Wonder layouts are fantastic. I can't wait to get some new papers from the 2020 Annual catalogue so I can use them with this fun technique.

Happy Crafting,
Chlo  

Product List 
 

Thursday, 8 August 2019

Scan N Cut Tutorial: How to cut around stamped images - Bloom and Grow

I'm sharing another super simple tutorial on what I really use my Scan N Cut for, 90% of the time. And that is to cut around my stamped images that I don't have dies for.

This really is the main reason for my purchase of this machine and the scanning function is what sold this elecrtic cutter over all the others.

This tutorial is simple, easy and saves me so much time. especially at Christmas time when I may be mass producing cards.


As always, the stamps, inks, embellishments and pattern paper that I share in these videos can all be purchased, through me, at my online store.

I also get asked a lot about this awesome mat that I have been using in my videos. It is called an Artistix Direct mat and it comes from a company in the UK. I honestly can't tell you how this mat has changed my Scan N Cut experience for the better and even though I have gone through 5 Brother mats, within 3 months, I have had this one Artistix Mat for almot 6 months and it is still as good as the first time I used it. And yes the do sell a mat for the DX version too. I also have now got 5 other friends onto these mats and they can't believe the difference.

So head over to the website and check them out for yourself, it will be the best thing you buy yourself, I promise!!:  https://www.artistixdirect.com/brother.html.

Happy Crafting,
Chlo
xx

Product List 
 

Friday, 2 August 2019

Global Design Project 200 - Piece of Cake

What an amazing milestone to have hit and celebrate. Huge congratulations to all the talented crafters over at the Global Design Project, for hitting their 200th Challenge. That is pretty amazing. And to celebrate, this week we Casing the Designer which is the awesome Janneke De Jong.
http://www.global-design-project.com/2019/07/global-design-project-200-case-designer.html
I kept my card pretty close to the original design because I love Janneke's work and how can you improve on perfection!


I'm really pleased how the blended strip came out and have to admit I did create a few different colours, some I'm sure you'll see on my up coming cards. And it's so simple to do too. You will need some masking tape or painters tape and I've been using make up brushes to do my blending as I find they really help to get a nice even layer. Maybe I should do a video to demonstrate... hmmm food for thought.

It's hard to see on the male version of the card but the end of the blended strip is actually using gold metallic Encore ink. I miss using these gorgeous inks but the good news is there is something similar in the NEW Holiday catty, so it made me dig my old ones out for a bit of a play. I also added some metallic frost shimmer paint as a subtle splatter.

The blends got a work out, colouring the cute little cakes and I do love that we have a coordinating punch, so I only had to fussy cut the candles.

Thank you for stopping by and don't forget to check out the Global Design Project design teams cards, as t
hey are gorgeous!

Happy Crafting,
Chlo  

Product List 
 
Powder Pink Classic Stampin' Pad
[144084]
Metallic Gold Encore Pad
[132141]